Your new post is loading...
As you might know, I believe all transformative practices must be based in the standards. These standards must include both content and process standards (4C’s). Too often, I see wonderful activities that engages students… but also see important standards that could have been incorporated not present in the activity.
The idea behind the Makers Movement includes allowing students to imagine, envision, create, innovate, play, formatively learn, experiment, collaborate, share, and most of all dream of possibilities. The idea of making is not a new concept. In fact, the art of making is at the root and mixed into to the very fabric of our culture. I believe that the amazing innovation we have seen in this country is due to a Maker mentality. We have long been a culture set on dreaming up possibilities, and then taking the action to make it happen. The initial growth of technology has somewhat taken some of our creativity and produced consumption based thinking. We are now past the initial way of thinking, and the Makers movement allows people to finally use the technology to create and make. As we reflect on this… how are you using the Makerspace idea to engage students in content standards while facilitating and assessing process skills?
As you set, up or evaluate, the Maker movement in your school or district I ask you to think about how you are bringing this movement to the entire school and curriculum. I call it creating a Maker Culture. After-all the concept behind making is not a space… but instead a way of thinking.
For this reason, I think it is important to discuss one of the thinking processes often involved in making. It is the idea of computational thinking. This type of thinking is important not just in high stake testing, but also success in that world after school. Perhaps you have come across the idea of computational thinking in education. The best way to describe computational thinking is to look at the way a computer thinks… or at least runs a program. This is actually the most important concept a student learns through coding and developing computer programs. We must keep in mind that it is not the coding that is important… but the thinking process. After all… one can use a computer, but not actually use computational thinking skills.
Via John Evans, Elke Höfler, Jim Lerman
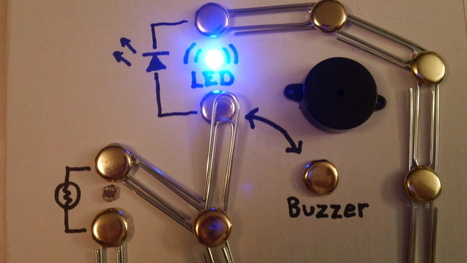
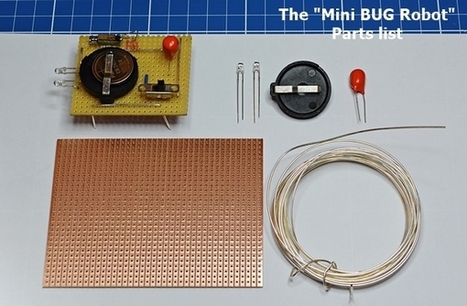
With this project you can change the path of the electric current to run through different sensors. With this design you can switch between lighting a Blue LED or activating a Buzzer. You also have the choice of using a Light Dependent Resistor with the LED or Buzzer. You can be creative and design your own circuit and add different sensors (other LEDs...). Learn more / En savoir plus / Mehr erfahren: http://www.scoop.it/t/21st-century-learning-and-teaching/?&tag=makerspace
Via Gust MEES, Madame Tournesol
Depending on your school, your own personality, and your previous experience you may not think that a project is the best way to start the school year. However, I’m here to challenge that a bit. I believe projects can be the BEST way to build community, assess your learners’ abilities and needs, and jump into content.
Via paul rayner
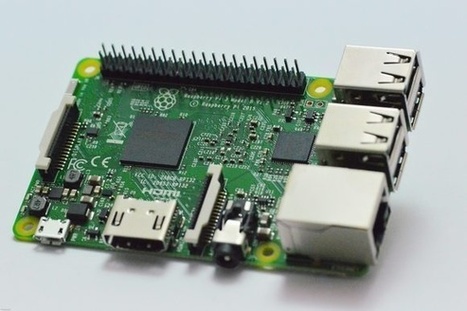
A Raspberry Pi and a 3D printer are a match made in maker’s heaven. Here are the best Raspberry Pi projects you can do with a 3D printer.
Got a Raspberry Pi? Need a use case for your 3D printer? Then let us inspire you with some of the greatest Raspberry Pi projects for your 3D printer we could find.
Via John Evans, Yashy Tohsaku
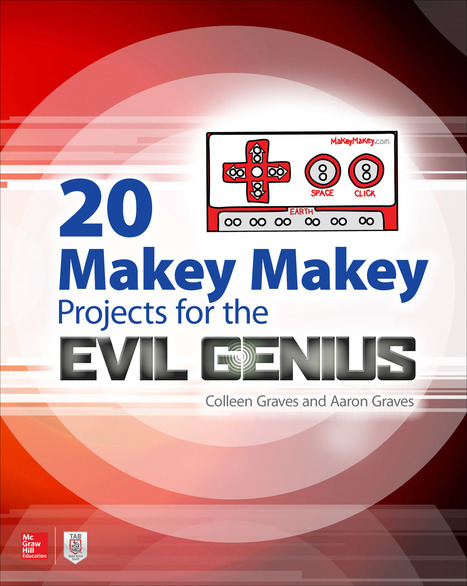
Pre-order on Amazon or Barnes and Noble today! This hands-on guide is filled with DIY projects that show readers, step-by-step, how to start creating and making cool inventions with the Makey Makey invention kit. Each project features easy-to-follow, fully-illustrated instructions and detailed photographs of the finished gadget. Readers will see how to apply these skills and…
Via paul rayner, John Evans
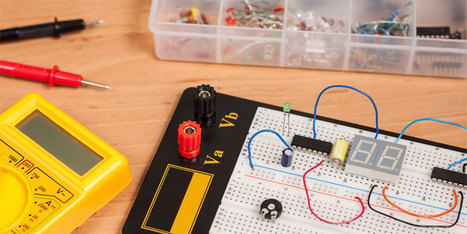
Learning about basic electronics and creating your own projects is a lot easier than you may think. In this tutorial, we’re going to give you a brief overview of common electronic components and explain what their functions are. You will then learn about schematic diagrams and how they are used to design and build circuits. And finally, you will put this information to use by creating your first basic circuit.
Via John Evans
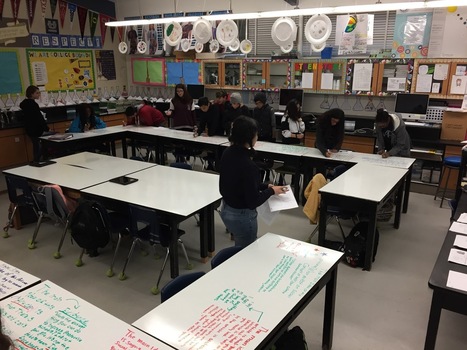
Somehow by the luck of the draw, I ended up with the worst desks in our entire school when I joined this staff in 2013. Not only are the desk legs loose, and I’m constantly tightening them with a wrench, but also they are peeling and carved up. One even says “I hate this class” in big letters across the front. Let’s not even get into the gum artwork under the desks...
It finally came to a point where I was fed up. These desks have been through a lot, and they aren’t serving my kids’ needs. I can’t exactly go out and buy new desks. Solution: do some DIY and make whiteboard desks.
Via John Evans
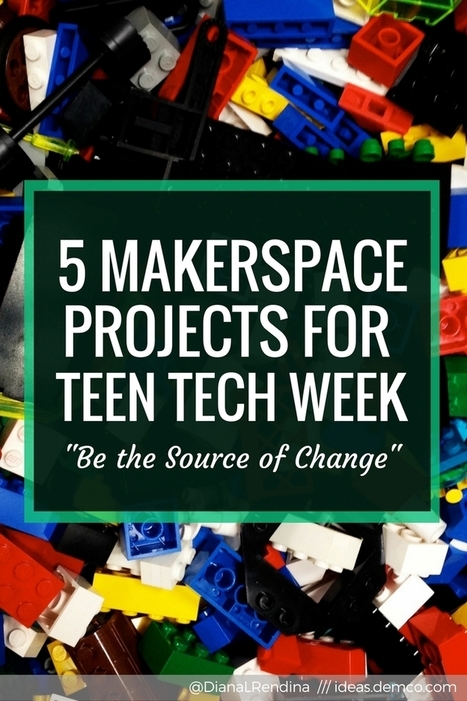
ALA’s Teen Tech Week will be upon us before we know it (March 5-11). To help get ready for this event, I’ve written a post for Demco Ideas with 5 makerspace project ideas to tie in with this year’s theme, “Be the Source of Change”. It was hard to limit it to just five ideas, so each one has examples of several different variations on the project.
Via John Evans, Anny Gordon
|
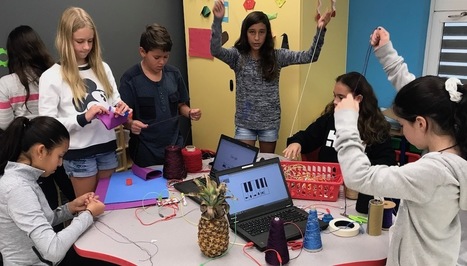
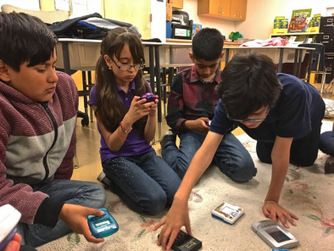
Inside a makerspace at Indian Trace Elementary School in Broward County, Florida, some kids are sitting, working by themselves. A group of others stand together staring intently at something, talking, and moving their arms energetically. Students are doing without adult direction. There’s an overall sense of purpose that is visceral. The energy feels more like that of a trendy dot-com startup than an elementary school media center.
This environment is part of a larger maker movement that acknowledges 21st Century natives need to learn in settings that are very different than the musty libraries or classroom rows of their parents. Makerspaces are areas where students come to explore, build, create, and tinker. Students are learning without turning to the front of the room for directions or receiving steps from the teacher at the center. They are the ones directing the action. They use a variety of materials from paper and cardboard to Legos to high-tech robots. It’s a mixed bag of art supplies, erector sets, paper mache, 3-D printers, green screens, drones, and more. Each space has its own unique set-up and feel based on the needs, interests, resources and goals of the community.
Via John Evans
This guide will show you how to make a bristlebot which is a simple robot created from a toothbrush and a vibrating motor. This makerspace project is great for K-6 students and older because of its simplicity and fun.
Via John Evans
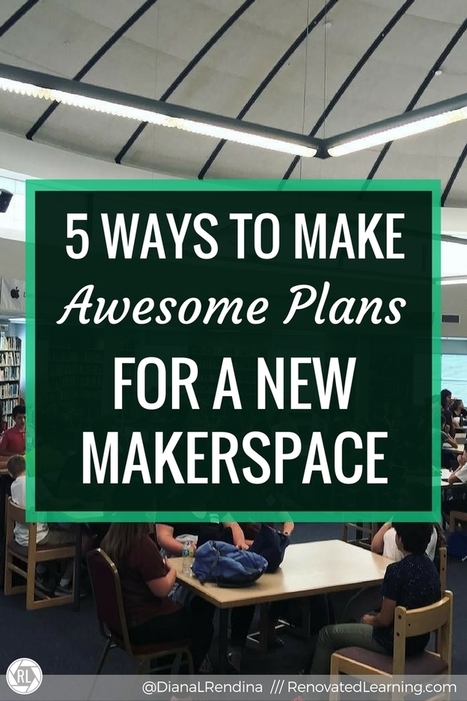
For the first time in four years, I am without a makerspace. My new school’s library is beautiful and huge and has a school culture that is just ripe for making. Even though it was tempting, I decided not to change it up and create a makerspace over the summer. I want to be sure that the library program, including a new makerspace, is responsive to the needs of the school and its culture. Therefore, I plan on spending at least the first-semester making plans for how this space will work. It will likely be very different from my previous space, but I’m excited to see what forms.
Making plans for a new makerspace can be daunting, so I’ve gathered together some tips to help get started:
Via John Evans
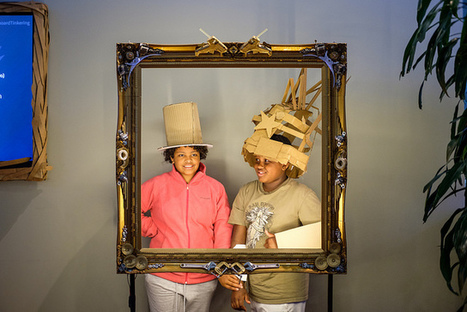
Another cardboard activity along the side of the Large scale & Small scale stop motion animations in the event of Infinite Versatility of Cardboard was Making Cardboard Costumes. This time, we set up our favorite “Tinkering photo frame” for people to capture their cardboard costumes, and to take this photo booth experience online, we also set up a hashtag #cardboardtinkering and used a social media wall "Walls.io" so that we could collect all the pictures with the hashtag and display them as a live-updating photo album on the large monitor during the event.
Via John Evans
While many teachers are excited about the maker movement and may even be creating projects for their classrooms, assessment can be puzzling even to veteran classroom teachers. How can teachers prove that deep, rich learning is occurring through making? How do we justify a grade to students and parents alike, especially to the student who "just isn’t good at art"? By crafting a three-part rubric that assesses process, understanding, and product, teachers can rest assured that they are covering all the bases.
Via John Evans
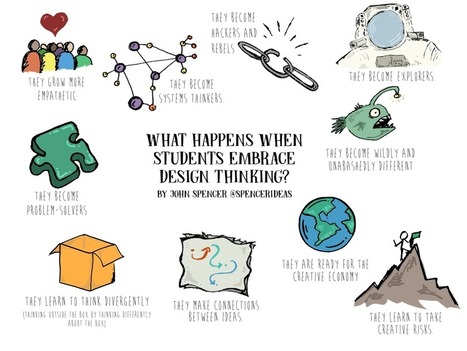
Every day, I ask my kids, “What did you make in school today?” Too often, they can’t give me an answer. But on the days that they do, their eyes light up and they passionately describe their projects. It’s in those moments that I am reminded that making is magic.
I want to see schools transform into bastions of creativity and wonder.
But here’s the thing: this is hard to pull off. We all have curriculum maps and limited resources and standards we have to teach. We don’t always have fancy maker spaces or high-tech gadgetry. Our time is limited and so creativity is often a lofty ideal that rarely becomes a reality.
This is what I love about design thinking. It works within the standards in every subject. It’s a flexible approach that you can use with limited resources. It isn’t something new that you add to your crowded schedule. Instead, it’s an innovative approach to the work you are already doing — a process designed specifically to boost creativity and bring out the maker in every student.
Via John Evans
Toy take apart and hacking is a high engagement activity that works for kids of all ages, including adults who haven’t lost their sense of kid, and both genders. I have done it multiple times during my summer maker camp for elementary level kids, my gifted students, and at conferences as part of teacher professional development.
Here is a description of this activity from the tinkering studio at the Exploratorium:
Do you ever wonder what’s inside your toys? You’ll make some exciting and surprising discoveries about their inner parts when you don some safety goggles and get started dissecting your old stuffed animal, remote controlled car, or singing Santa. Use screwdrivers, seam rippers, scissors, and saws to remove your toy’s insides. Check out the mechanisms, circuit boards, computer chips, lights, and wires you find inside. Once you’ve fully dissected your toy, you can use the toy’s parts, your tools, and your imagination to create a new original plaything. (https://tinkering.exploratorium.edu/toy-take-apart)
Via John Evans
|